“How to Create a Sourdough Starter” originally appeared on EdibleCommunities.com, home to 100+ local food magazines in the U.S. and Canada. Recipe and images used with permission from Artisan Sourdough Made Simple by Emilie Raffa, Page Street Publishing Co. 2017. This story was originally published on EdibleBrooklyn.com in February 2020.
Creating a starter from scratch is very simple to do and ultimately marks the beginning of an ongoing relationship. It’s also the most intimidating part of the sourdough baking process because it’s often misunderstood. In this section, you’ll get a crash course on sourdough starters from A to Z. You’ll begin by making your own homemade culture, and you’ll learn how to keep it bubbly and active with storage options and tips. You’ll also learn how to care for your starter and keep it alive, to use for the recipes in this book and beyond. And because sourdough is meant to be shared, you’ll also learn how to carry on the tradition with family and friends.
Sourdough starters can be made a few different ways, with methods that include fruit juices, grapes, honey and even potatoes to boost natural fermentation. In my experience, all you need are two simple ingredients: flour and water. Once combined, the culture will begin to ferment, developing the wild yeasts and bacteria needed to make your bread rise.
When creating a sourdough starter, it’s important to begin with whole-grain flour to jumpstart the fermentation process. Whole wheat, rye and spelt flour are great choices. Temperature and location also play important roles, so for best results, find a warm spot for your starter to thrive. My starter lives in a cozy cabinet right next to the fridge.
What to Expect
The overall process will take about seven days from start to finish. My best advice is to be flexible with timing because developing yeast can be unpredictable. Your starter is ready when it has doubled in size, with plenty of bubbles on the surface and throughout the culture.
Day 1

Add 60 grams (1/2 cup) of whole wheat flour and 60 grams (1/4 cup) of water to a large jar. Mix with a fork to combine; the consistency will be thick and pasty. If measuring by volume, add more water to thin out the texture. Cover loosely with plastic wrap or a small cloth, and let it rest in a warm spot for 24 hours.
Day 2

Check to see whether any bubbles, which may look like small black dots, have appeared on the surface. Bubbles indicate fermentation. It’s okay if you don’t see anything, as the bubbles might have appeared and dissolved overnight while you were sleeping. Rest the starter for another 24 hours.
Day 3

Whether bubbles are visible or not, it’s time to start the feeding process. To begin, remove and discard approximately half of your starter from the jar. The texture will be very stretchy. Add 60 grams (1/2 cup) of all-purpose flour and 60 grams (1/4 cup) of water. Mix with a fork until smooth. (See photo #3) The texture should resemble thick batter or plain yogurt at this point, so add more water as needed. Cover loosely, and let rest for another 24 hours.
Days 4, 5 and 6:

Repeat the feeding process outlined on Day 3. As the yeast begins to develop, your starter will rise, and bubbles will form on the surface and throughout the culture. (See photo #5) When the starter falls, it’s time to feed it again. Tip: Place a rubber band or piece of masking tape around the jar to measure the starter’s growth as it rises.
Day 7

By now, you should see plenty of bubbles, both large and small. The texture will be spongy and puffy, similar to roasted marshmallows. Take in the aroma. It should smell pleasant and not astringent. If these conditions are met, your starter is now active and ready to use. Tip: If your starter is not ready at this point, which is quite common, continue the feeding process for one to two weeks or more.
The very last step is to transfer your starter to a nice, clean jar. In keeping with tradition, you can also name it. My starter is called Dillon, after my oldest boy.

Good to Know: Hooch
During the creation process, and even after your starter has been established, you may notice a dark residual liquid on the surface or throughout the culture. It has a very distinctive smell, similar to rubbing alcohol or gym socks. This liquid is called “hooch” and is an indication that your starter needs to be fed. Any time you see this liquid, it’s best to remove it (if possible) along with any discolored starter present. Some bakers choose to stir this liquid back into their starter, which can add a more sour flavor to the dough. However, in my opinion, hooch is wasted energy and is not always ideal to use.
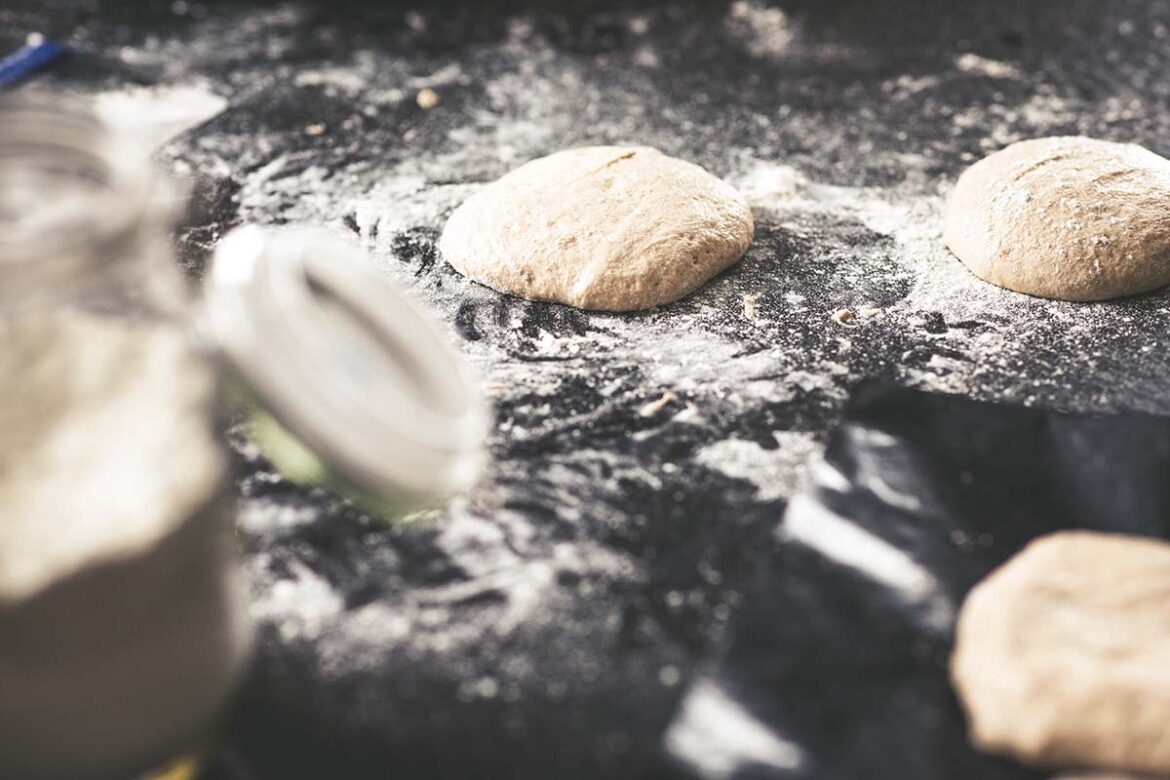
Feature photo by Markus Spiske, courtesy of Unsplash.
SaveSave